Note: Multi-Factor Authentication is required for a VPN connection. Ensure your MFA is setup before trying to connect. The VPN uses the same MFA as your email and Microsoft login.
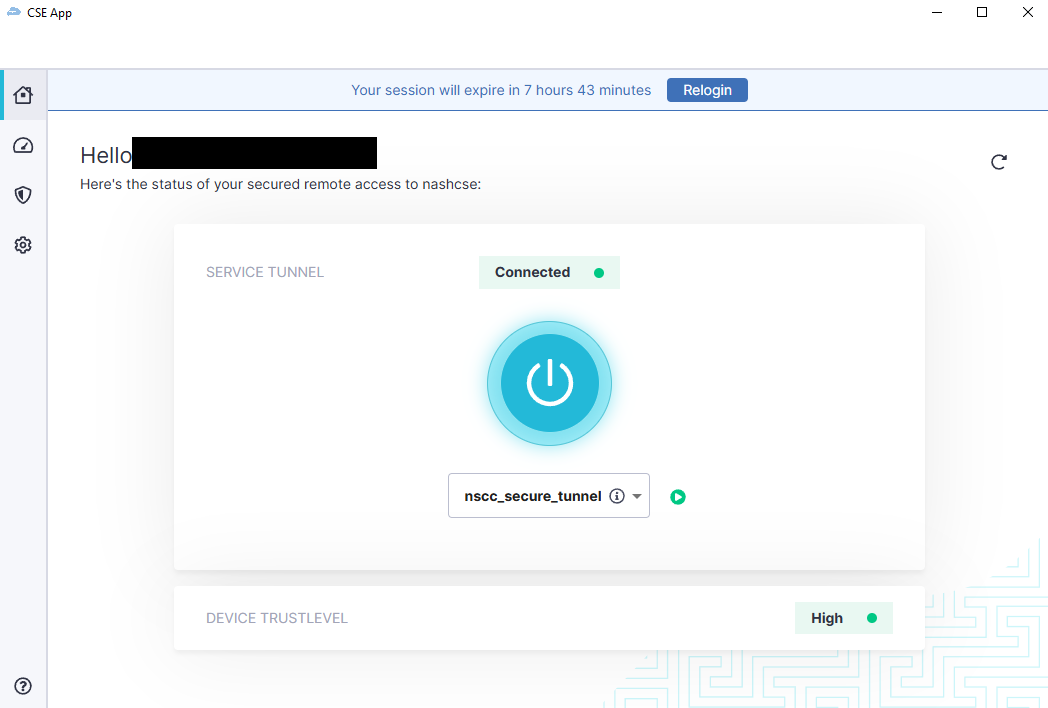
To connect to the CSE VPN you will need to first launch the application. From there you will need to first select the tunnel connection and then to turn the VPN on click the power button in the center of the screen.
Tunnel connections are explained below.
The button will turn blue when it is connected and you will get a “connected” message at the top of the screen.
*Note* To avoid possible network issues make sure you are only running one VPN at a time. If you are connected with the SonicWall NetExtender exit out before connecting.
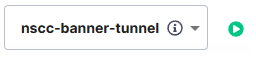
The default tunnel is the NSCC_Banner_Tunnel. This tunnel is used to connect directly to Banner. While connected to this tunnel only Banner resources will be available. NSCC resources, such as shared drives or remote desktop connections, will NOT be available through this tunnel.
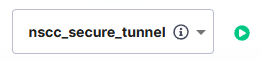
To connect to NSCC resources select the option for NSCC_Secure_Tunnel. This will allow users to connect to NSCC resources such as networked share drives and remote desktop connections. This will also allow connections to Banner.
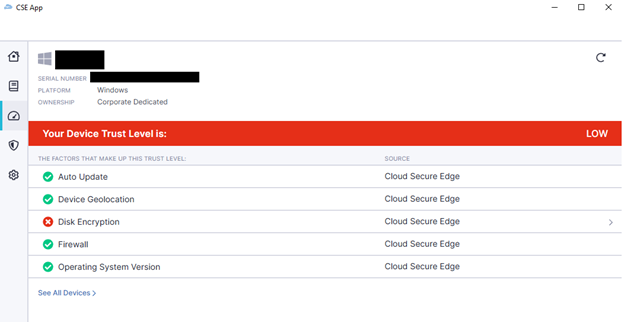
If you are experiencing issues connecting to resources while the VPN is on you may need to verify if the trust level of your device is high enough. Your trust level will be listed at the bottom of the connection screen but to see the details further click on the meter icon on the left side of the screen.
Please contact the service desk if the trust level of your device is low.