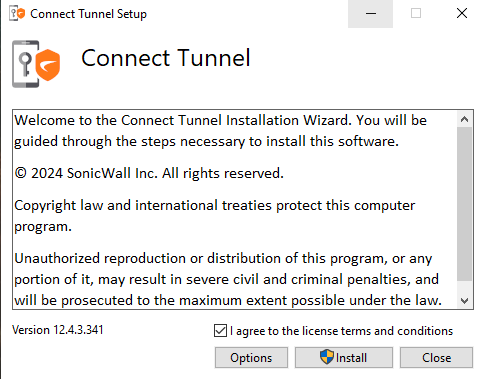
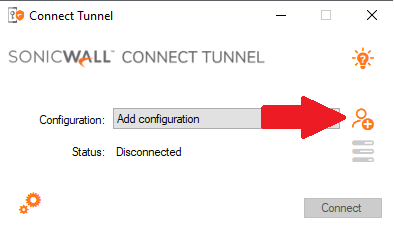
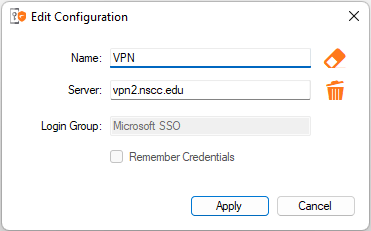
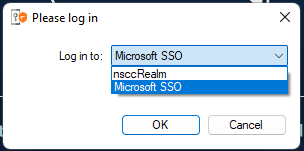
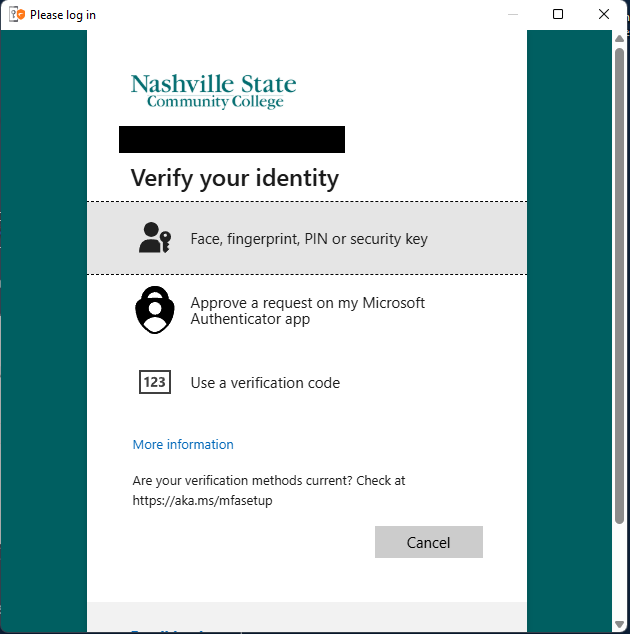
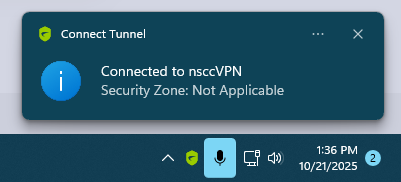
VPN Install Instructions – SonicWall Connect Tunnel Skip to main content How Can We Help? Search VPN Install Instructions - SonicWall Connect Tunnel *Note* These instructions are for personal devices only. To Install Connect Tunnel on a NSCC device click here for instructions.1) Download the installer for the SonicWall Connect Tunnel using this link.2) Open the installer to start the Connect Tunnel Setup.3) Agree to the license terms and conditions and then click “Install” 4) Once the installer has finished click the option to Launch.5) The Connect Tunnel will launch and afterwards click on the person icon next to “Add configuration” 6) To add the connection select a name such as “NSCC VPN” and for the server type in “vpn2.nscc.edu” (without the quotes)7) Click Apply to finish creating connection. 8) After adding the configuration hit the “Connect” button in the bottom right.9) For the next page select the drop down arrow and select “Microsoft SSO” 10) On the next page sign into your NSCC email and authenticate using the Microsoft Authenticator. Once the Connect Tunnel has established the remote connection you will receive a message that the connection has been established. Click here for contact information and office hours for the Service Desk Related Articles:Remote Desktop ConnectionMFA Setup InstructionsFind Service Tag
VPN Install Instructions - SonicWall Connect Tunnel *Note* These instructions are for personal devices only. To Install Connect Tunnel on a NSCC device click here for instructions.1) Download the installer for the SonicWall Connect Tunnel using this link.2) Open the installer to start the Connect Tunnel Setup.3) Agree to the license terms and conditions and then click “Install” 4) Once the installer has finished click the option to Launch.5) The Connect Tunnel will launch and afterwards click on the person icon next to “Add configuration” 6) To add the connection select a name such as “NSCC VPN” and for the server type in “vpn2.nscc.edu” (without the quotes)7) Click Apply to finish creating connection. 8) After adding the configuration hit the “Connect” button in the bottom right.9) For the next page select the drop down arrow and select “Microsoft SSO” 10) On the next page sign into your NSCC email and authenticate using the Microsoft Authenticator. Once the Connect Tunnel has established the remote connection you will receive a message that the connection has been established. Click here for contact information and office hours for the Service Desk Related Articles:Remote Desktop ConnectionMFA Setup InstructionsFind Service Tag